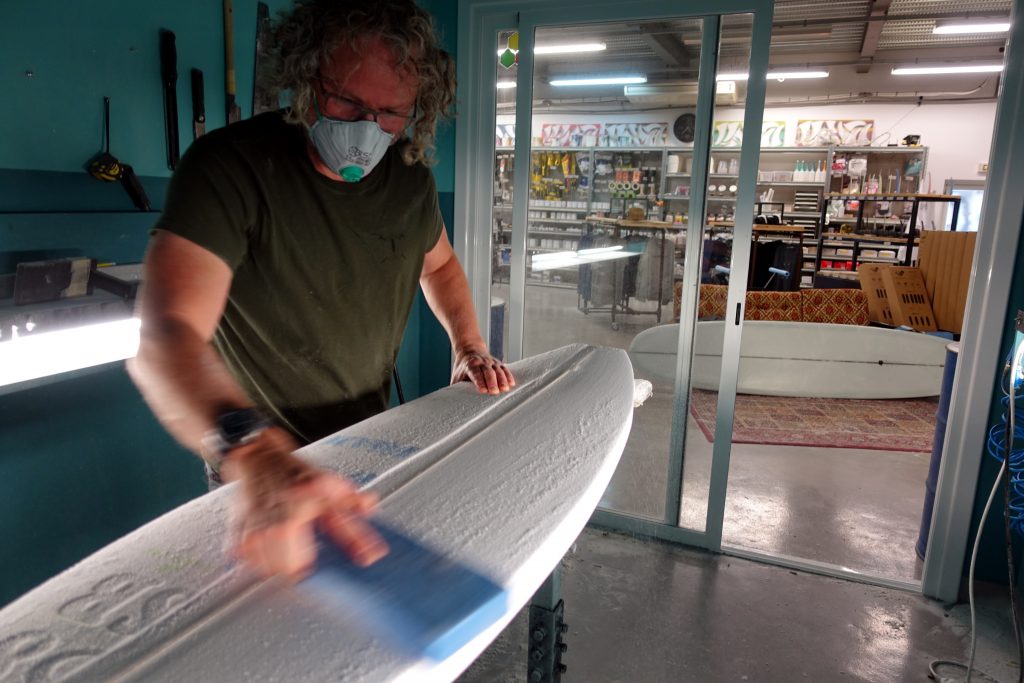
Today I ran into Biarritz to do a fast surfboard-shaping course at The Shaper House.
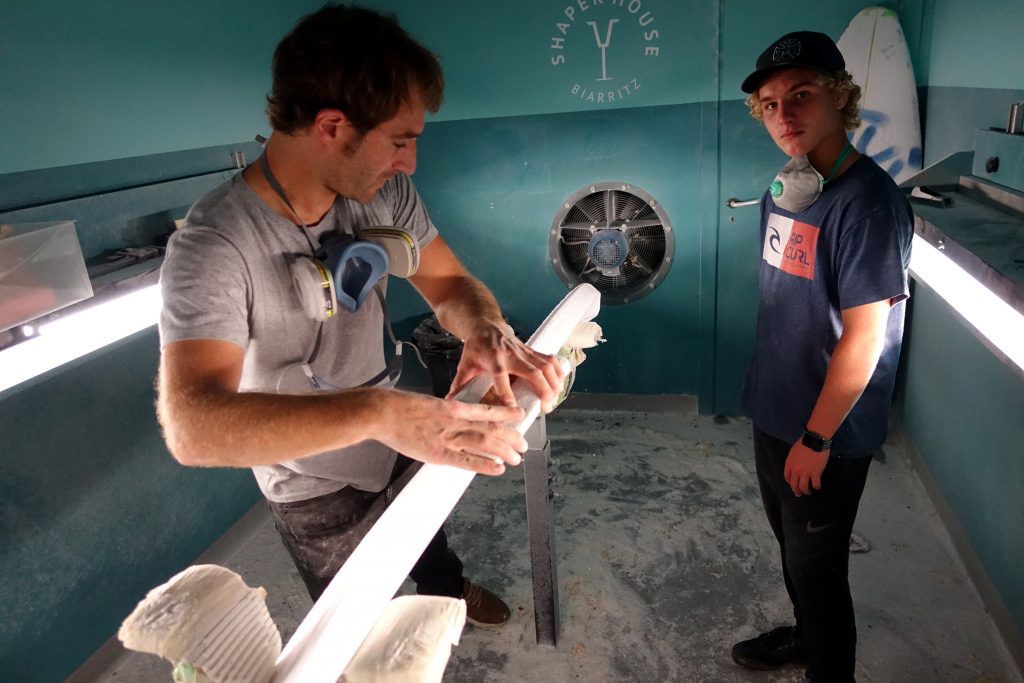
It was me, a chap Tyler from Florida, and the tutor Severn. We got a good overview in the hour and a half – I am super keen to try and make a board now! … they do workshops over 3 days to make your own board so I will try and get back here to do it…thanks to Anne for setting this up for me 🙂
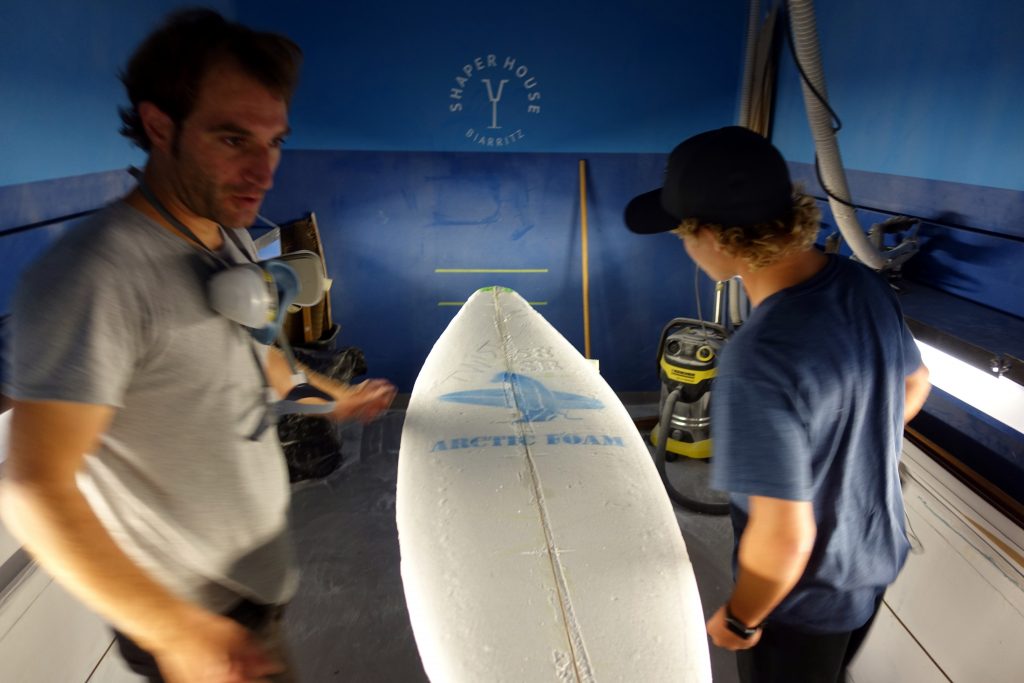
Shaping a board these days starts with the purchase of a blank…more or less a ‘starter’ shape that can be cut down to the exact dimensions you are after. Once you have the blank you work out the shape you want and how it ‘fits’ into the blank…its kind of like sculpture in that you whittle the source down to what you want.
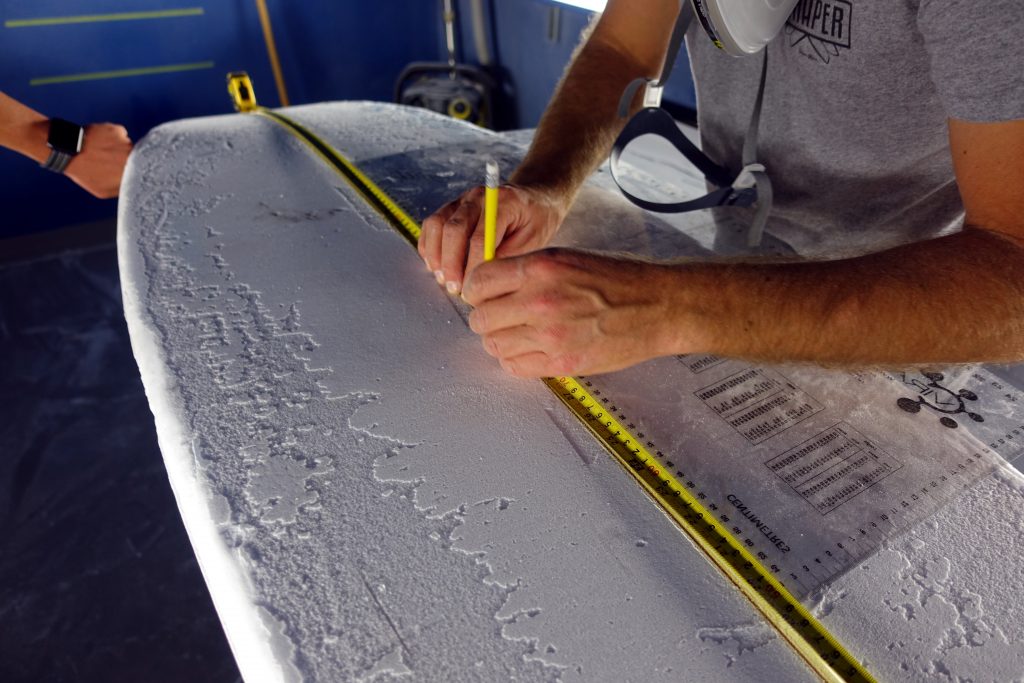
Once you have drawn out your shape on the blank you cut it down to within a few millimeters with a common saw.
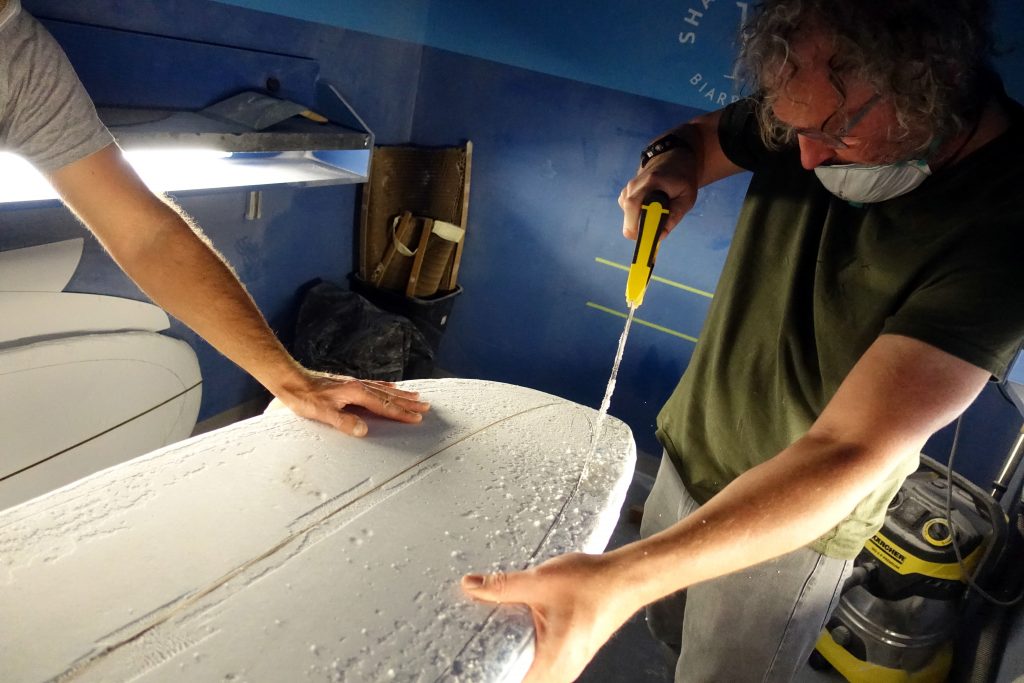
You then sand down the edges to remove the rough sides. You aren’t shaping as such yet, just preparing the blank.
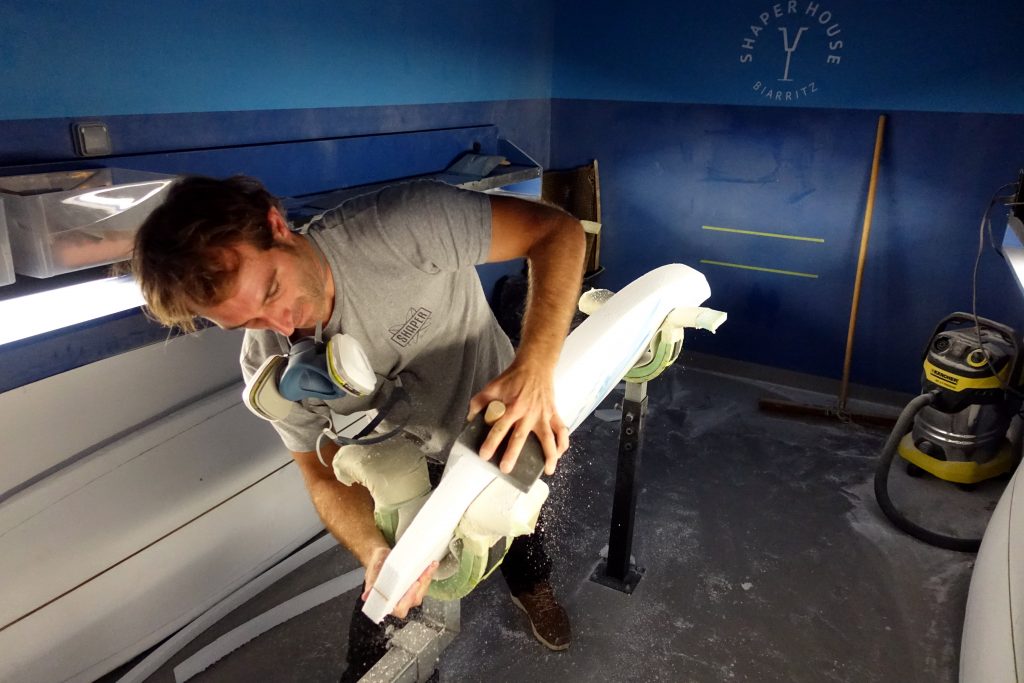
Next you plane down the top and bottom of the board with an electric plane. Essentially making the blank thinner, getting it closer to its final shape.
..and you sand it down some more…now with a coarse sander, but you are more or less smoothing out the rough grooves left by the plane.
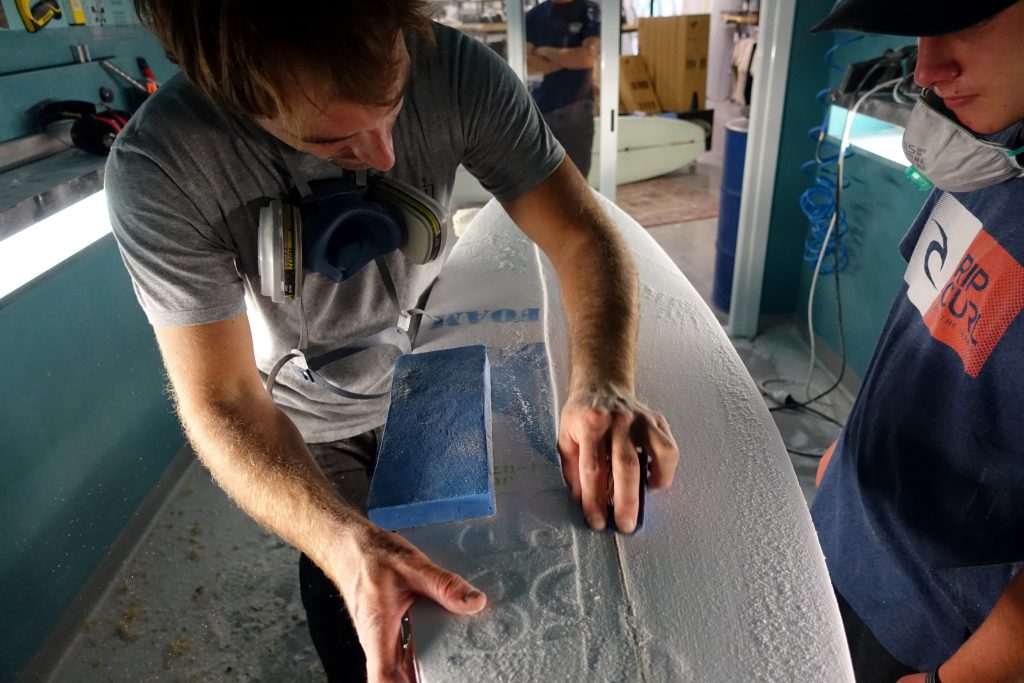
Next things start getting interesting… you start making the ‘rails’ (surfie speak for the sides of the board). This is interesting because you are starting from a ‘square’ blank and you are trying to produce beautiful rounded edges…you do this by first marking the side with two lines, these more or less provide guidelines for the shape of the rails…they can be even or hard rails and how you set these lines determines this…
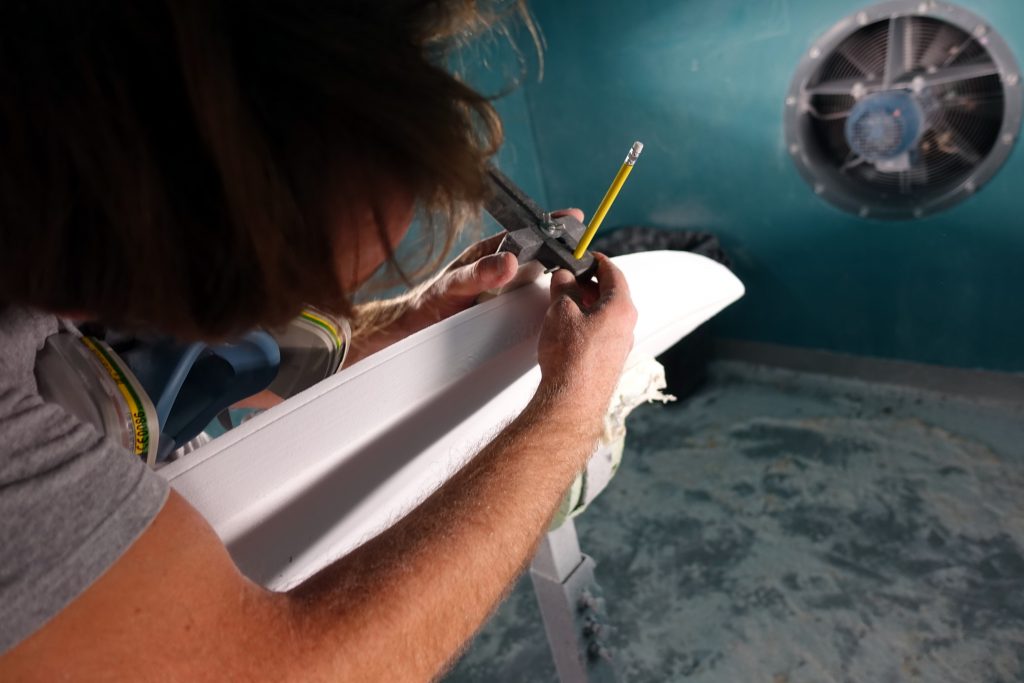
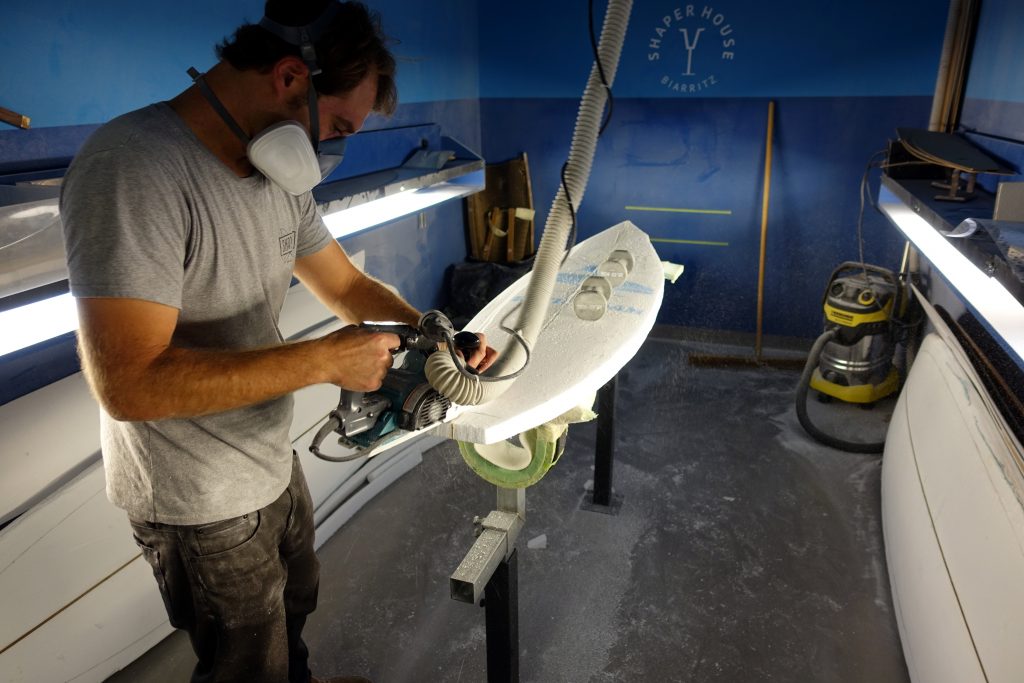
You then sand down the edges at a 45 degree angle. This gives a sort of ‘triangle’ shape to the side with a ‘flat’ top.
After you have this rough cut ‘triangle’ (with a flat top) you mark the sides again with a line and do the same thing…its tricky to explain, but essentially you are getting closer to a curve, except that you are doing it by producing a series of flat surfaces which represent something like the curve you want. When you this you start sanding down the edges into a smooth curve using a number of sanding tricks.
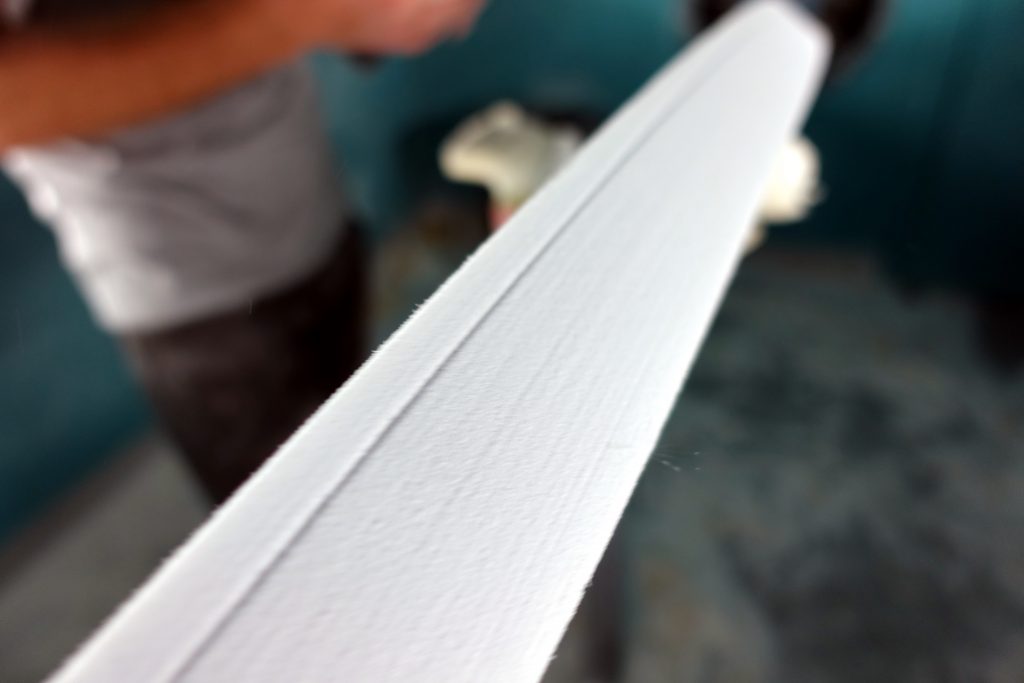
Until you have a bueatiful curved edge… when we made this it felt quite magical and looked fantastic! Simple but the result is awesome.

You then plane down the ‘stringer’ (wooden spine of the board) so that it is nice and flush with the board.
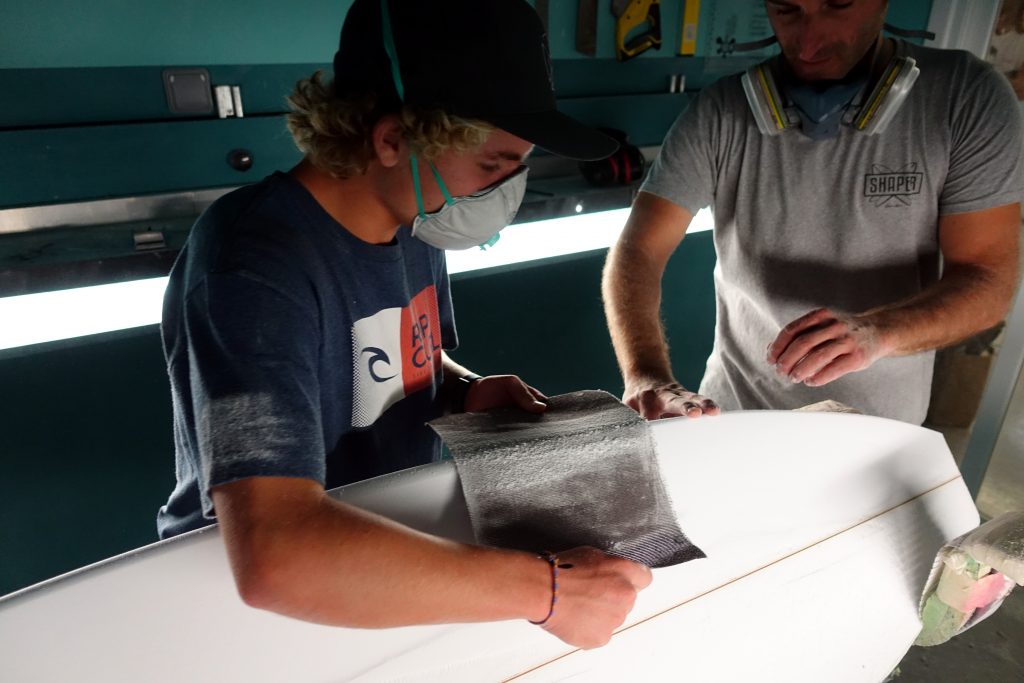
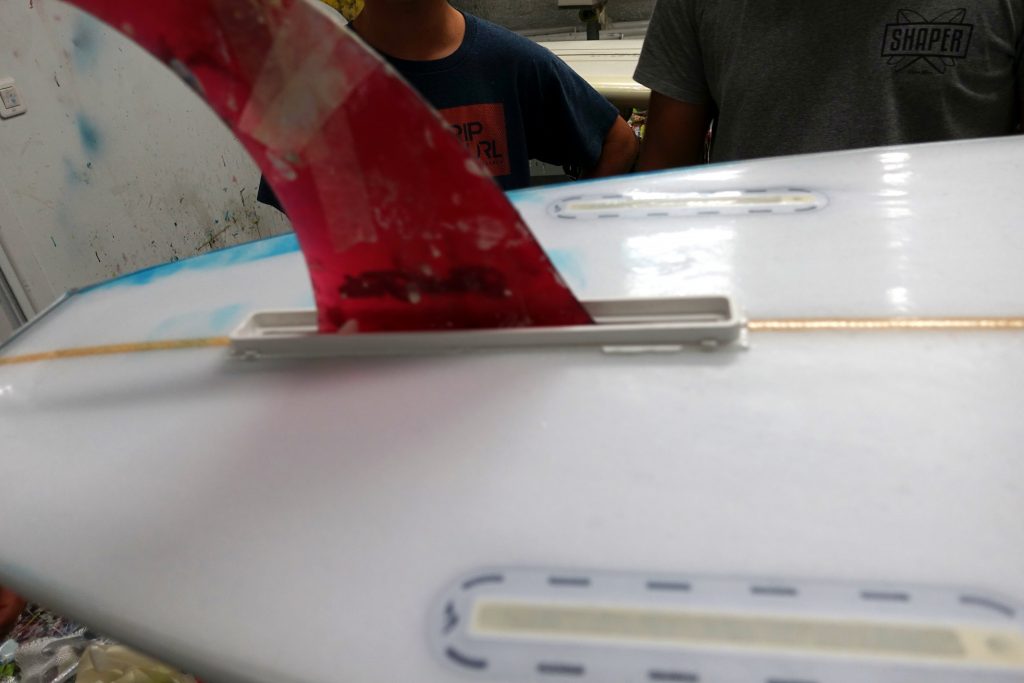
We didn’t go through the rest ourselves but Severn walked us through..how to fibreglass the board, how to set the fins etc… it was pretty interesting.
Highly recommended if you get down this way!