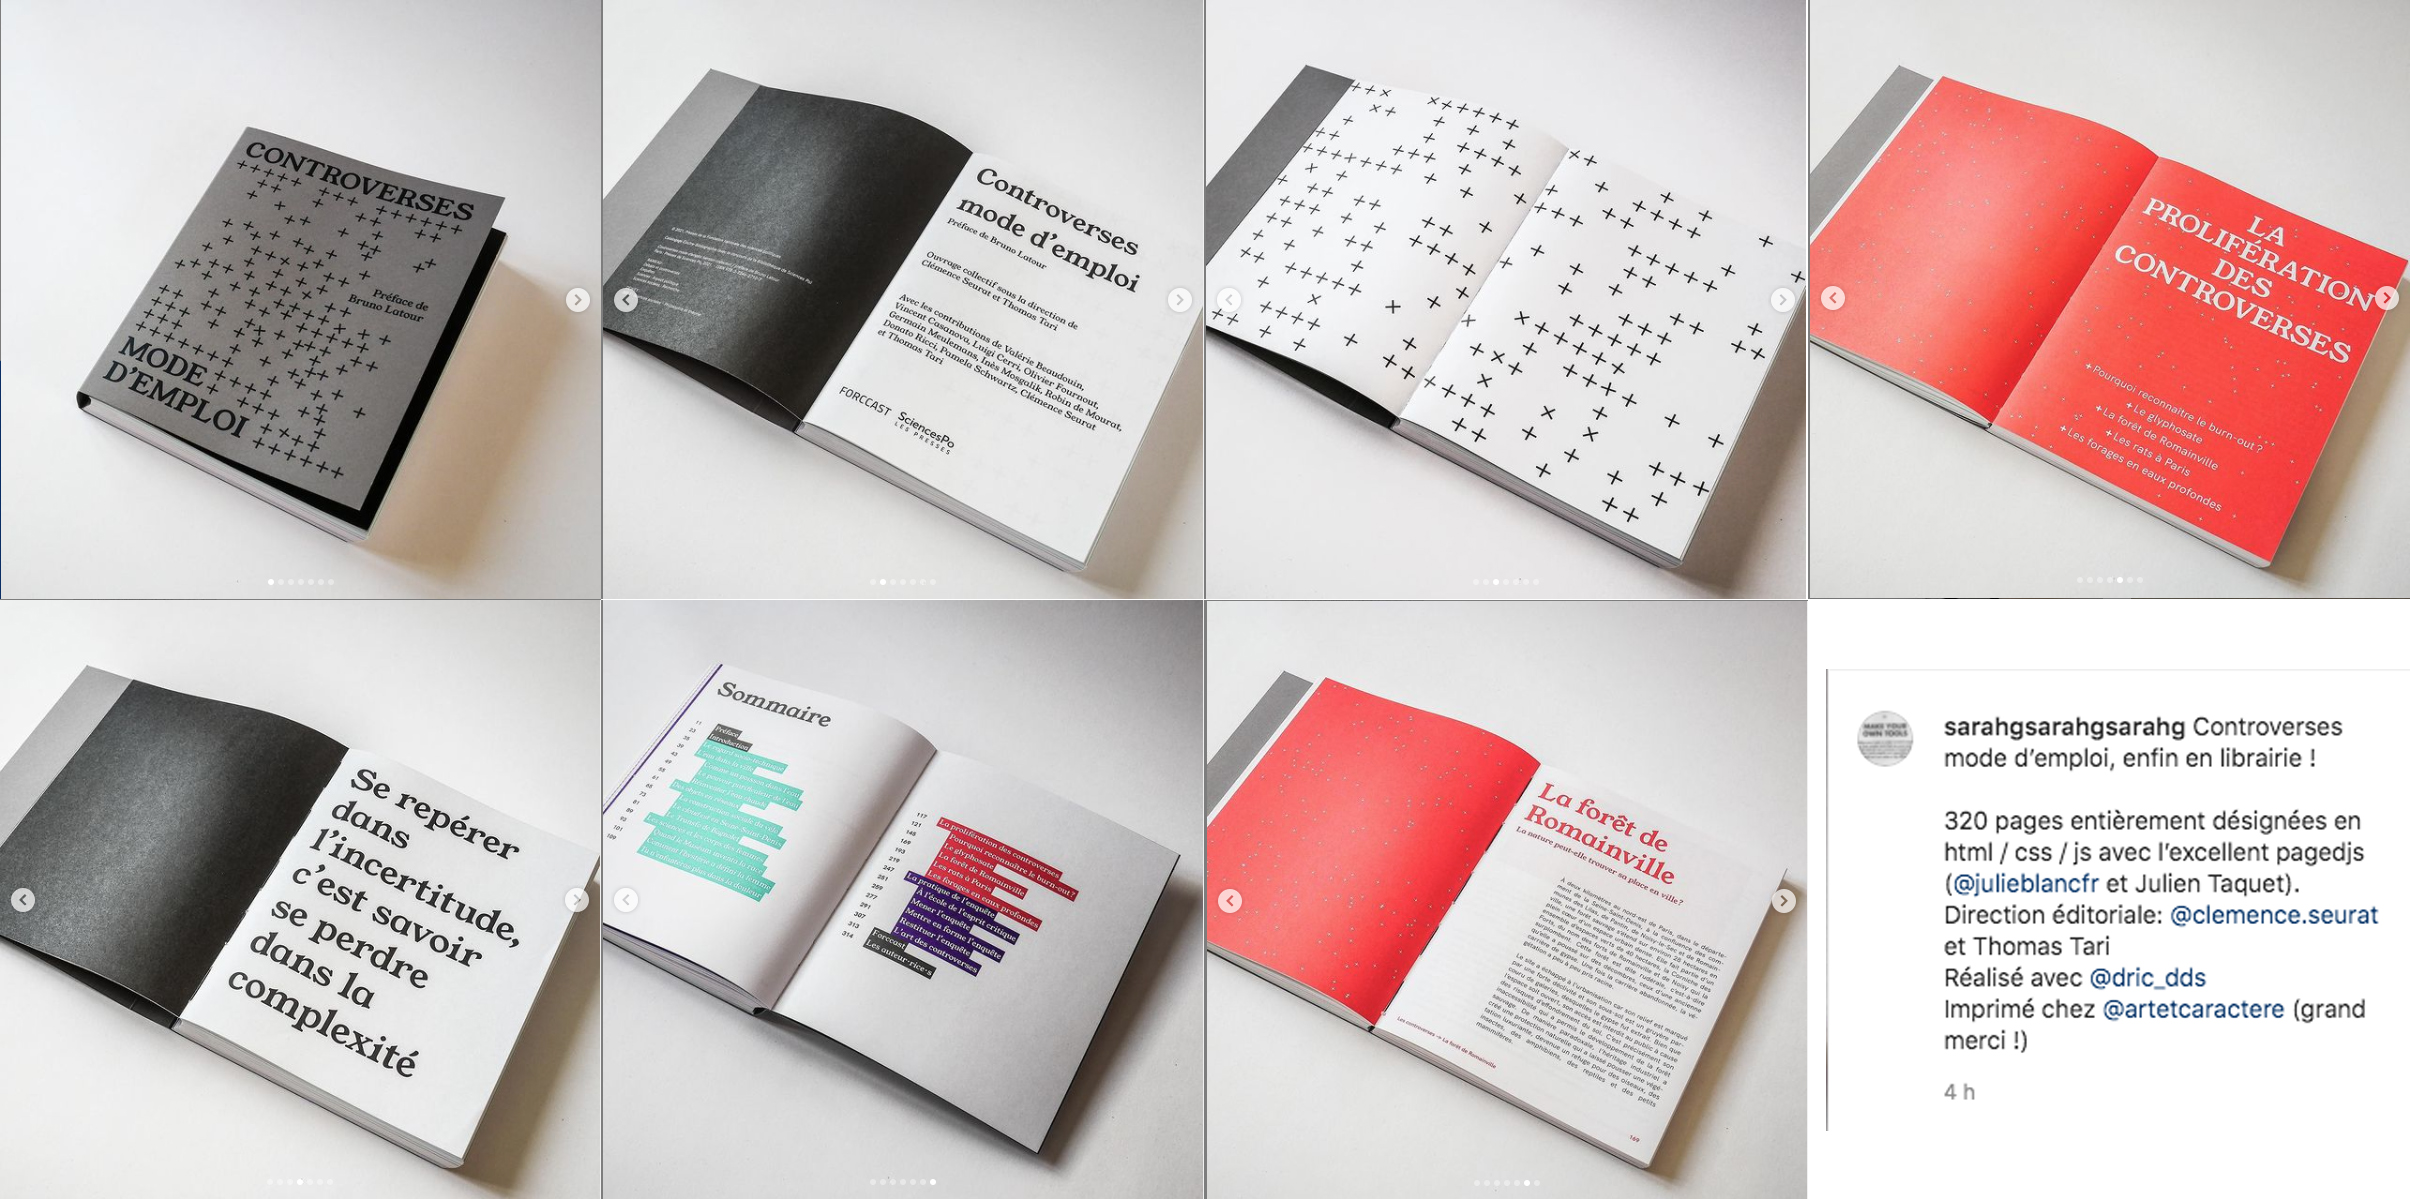
Recent pagedjs info sheet from Julien.
Paged.js explained
Paged.js is a free and open source JavaScript library that paginates content in the browser to create PDF output from any HTML content. This means you can design works for print (eg. books) using HTML and CSS.
Built on top of the HTML, CSS and JS standards, Paged.js won’t make assumptions about what a user wants to do: there won’t be any workaround to find something that should work by default. It works with any language supported by Unicode, and allow any CSS properties supported by the browser the book will be rendered in. Always up to date with the latest CSS and JS, the core team can focus on helping the community defining how HTML can be rendered on paper.
Paged.js is a community based project: while its main goal is to support the features the W3C defined in the specifications, the community can imagine new ideas and solutions that can easily be implemented as plugin to Paged.js.
Basic list of supported features (CSS)
- Page number
- Running heads
- Bleeds and crop marks
- Facing pages layout: different layout for left and right pages.
- Page master based on the content (named page)
- Support for different units (pt, mm, in, etc.)
- Automatic layout for element in the margins
- Cross references, table of content, index
- Footnotes
## How does it works?
To generate a PDF, Pagedjs offers two solutions:
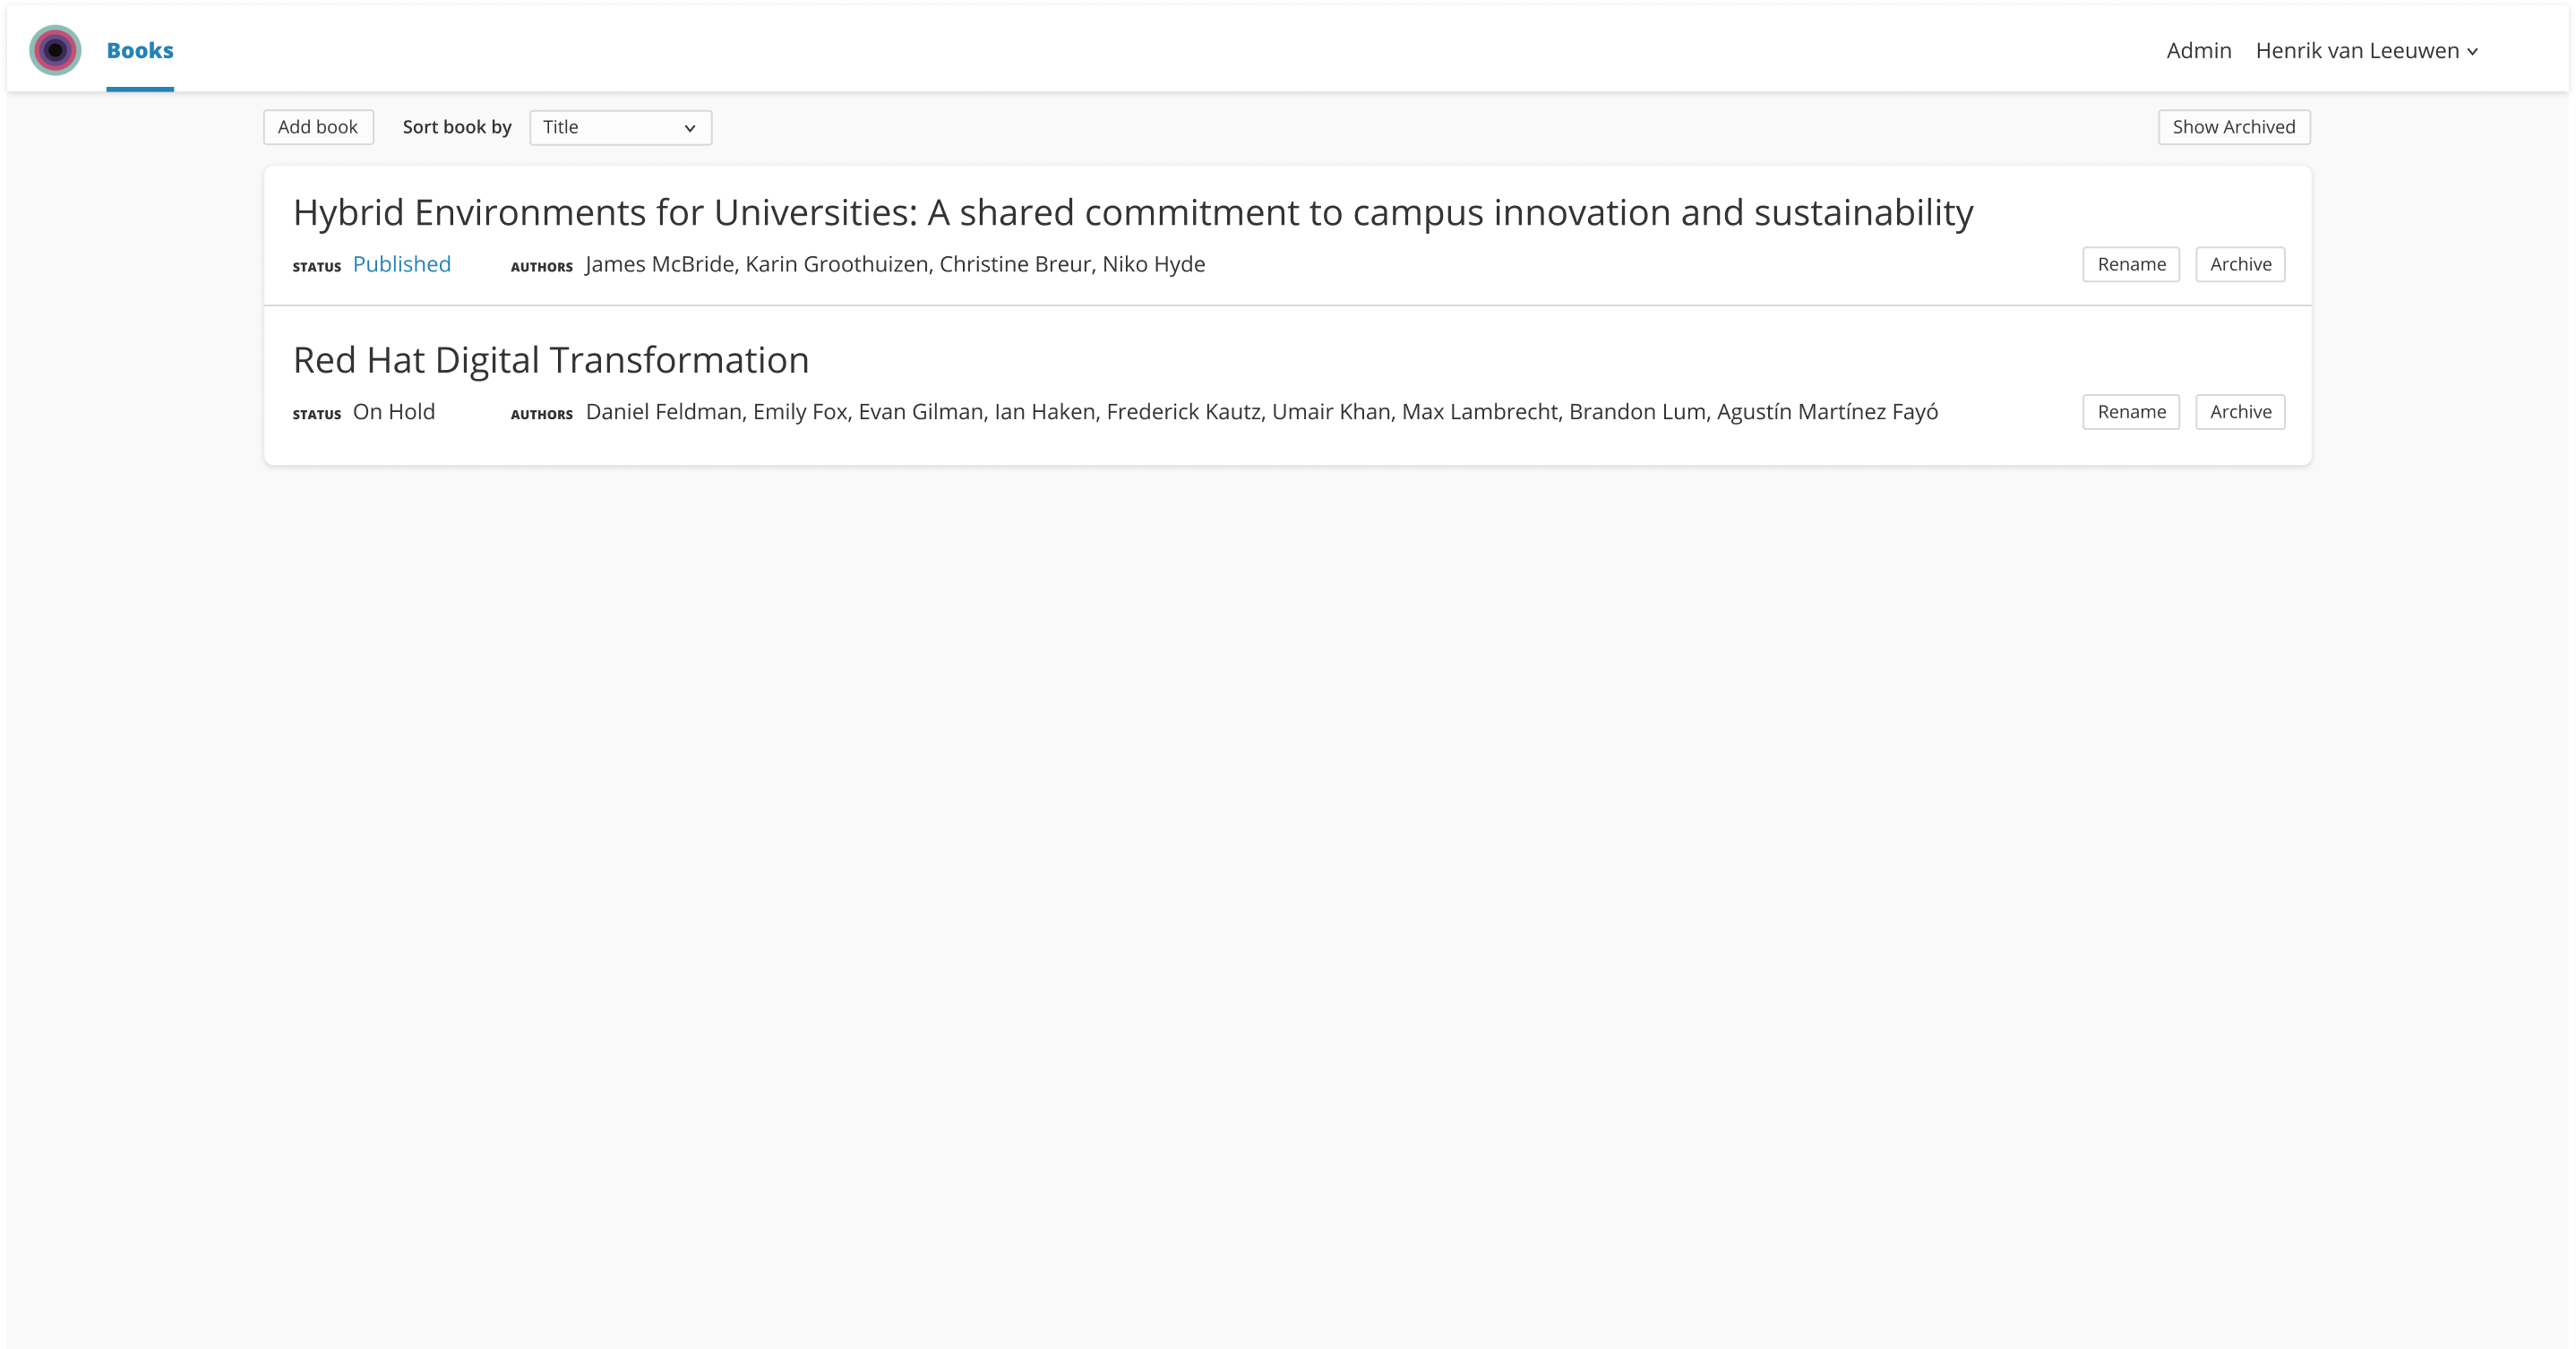
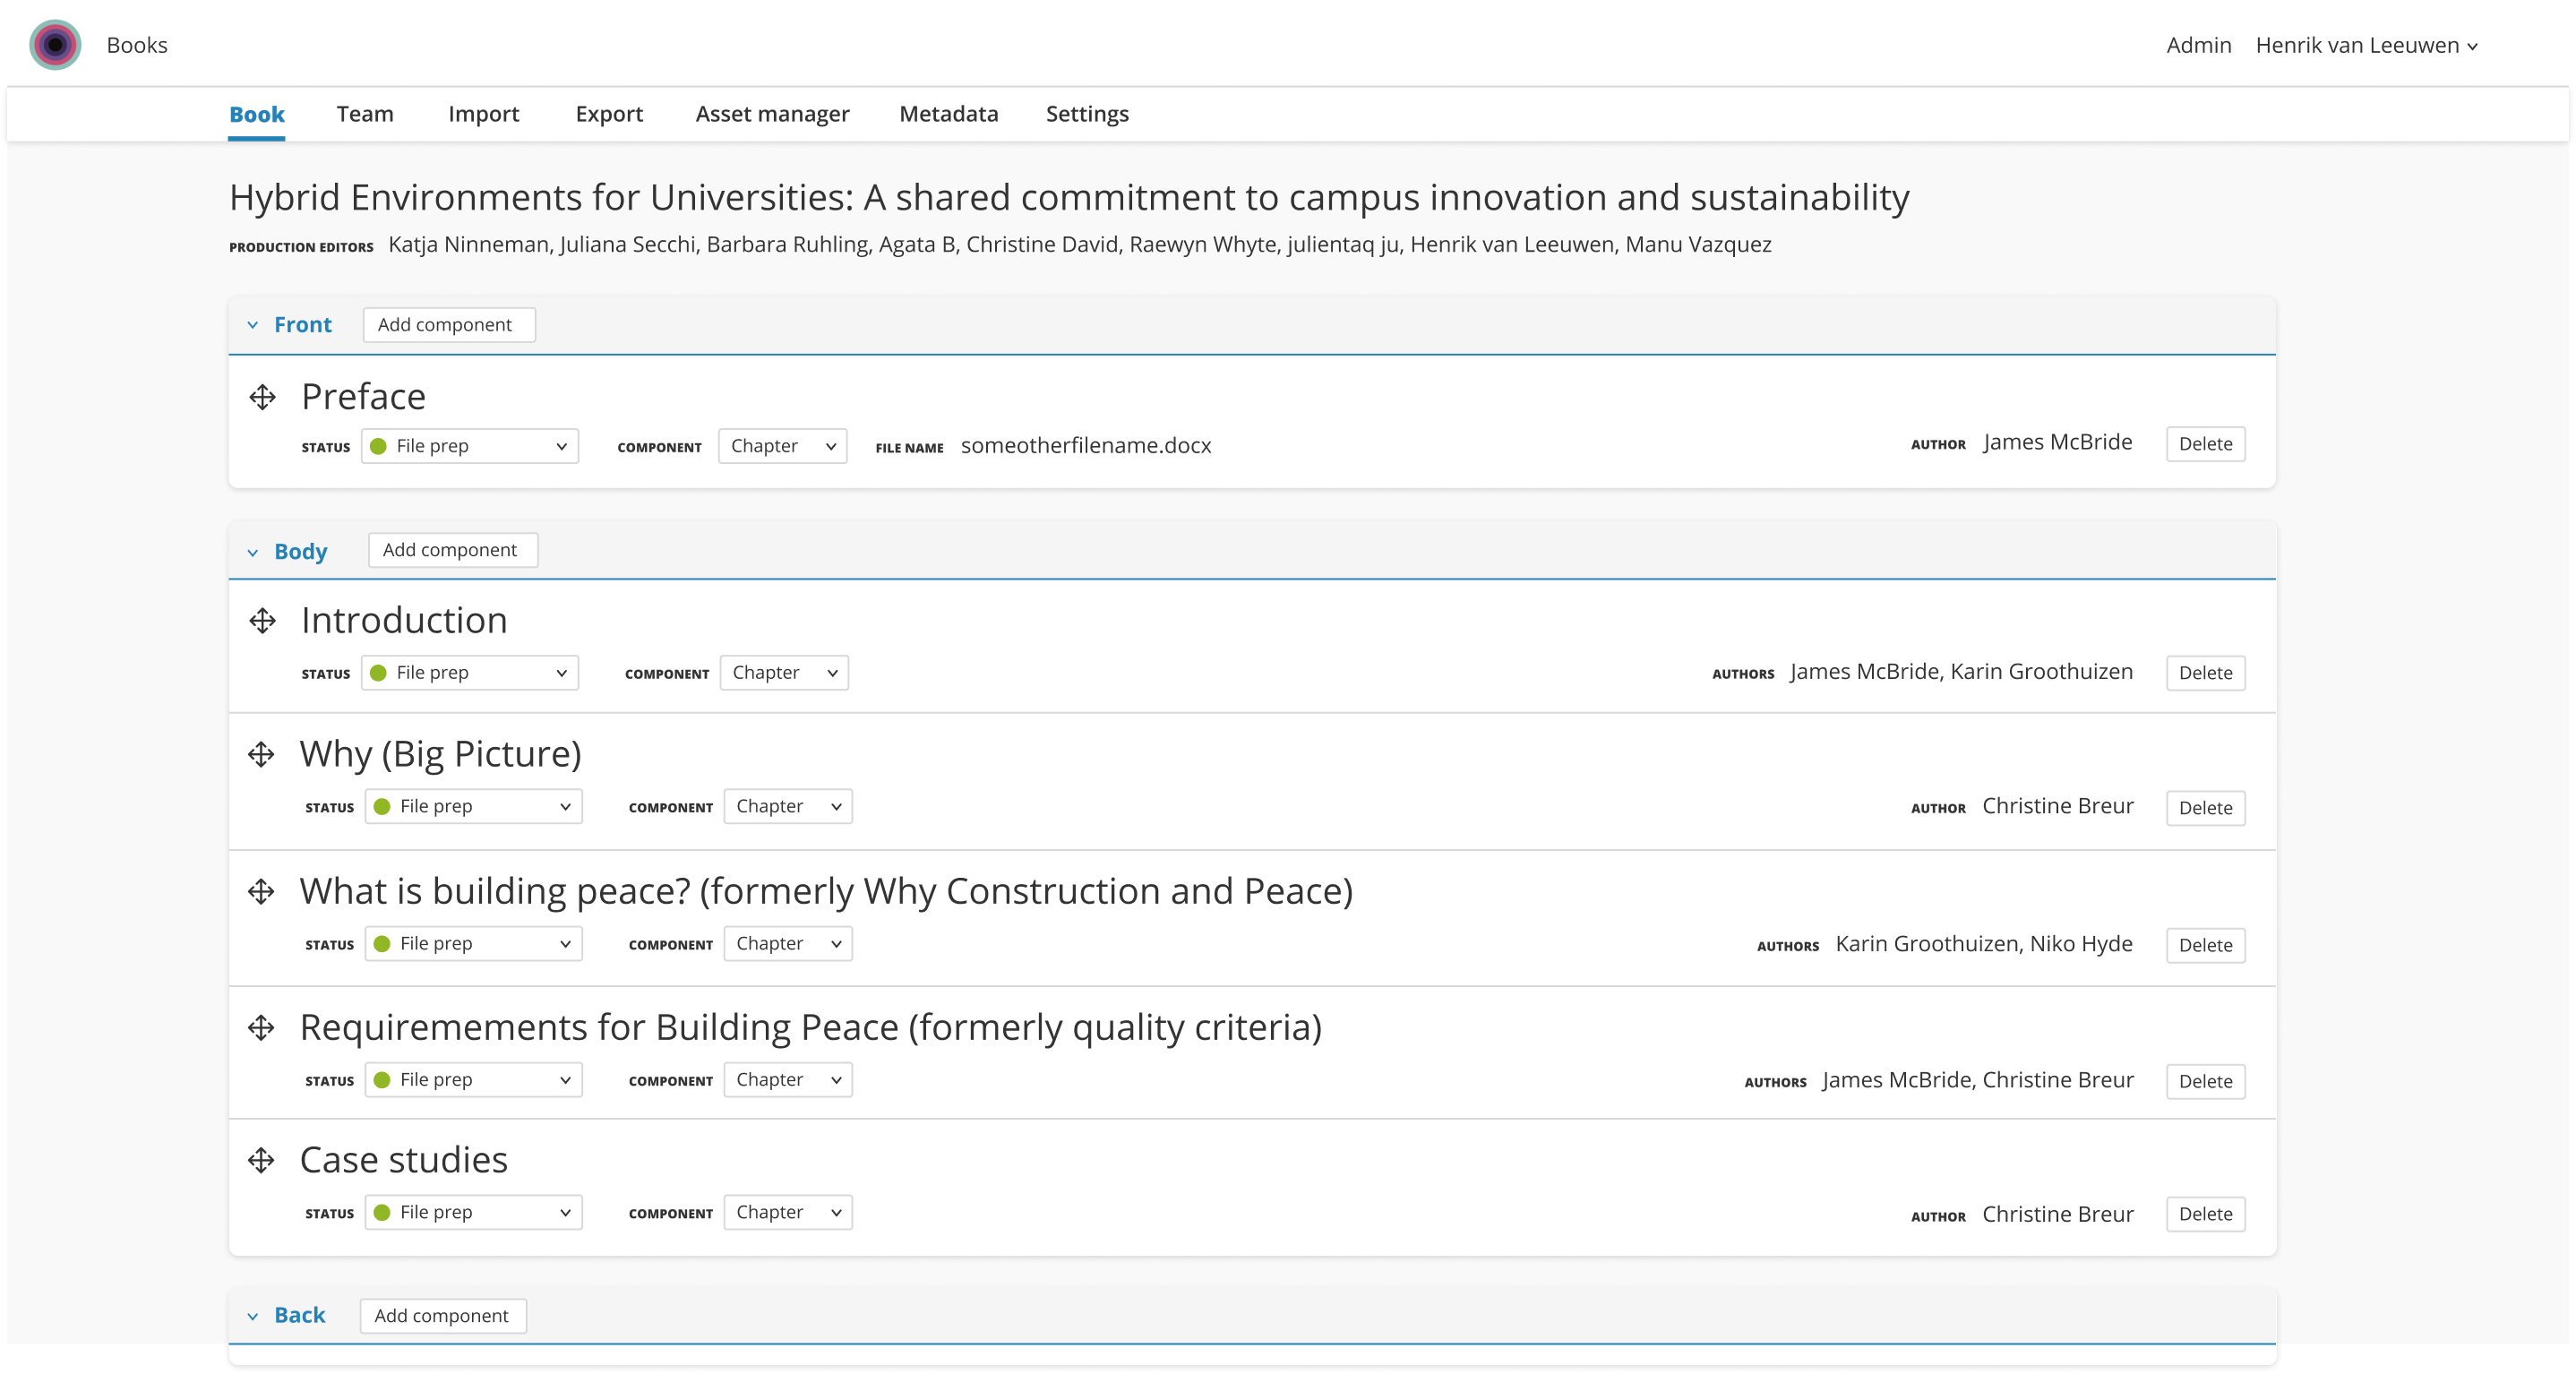
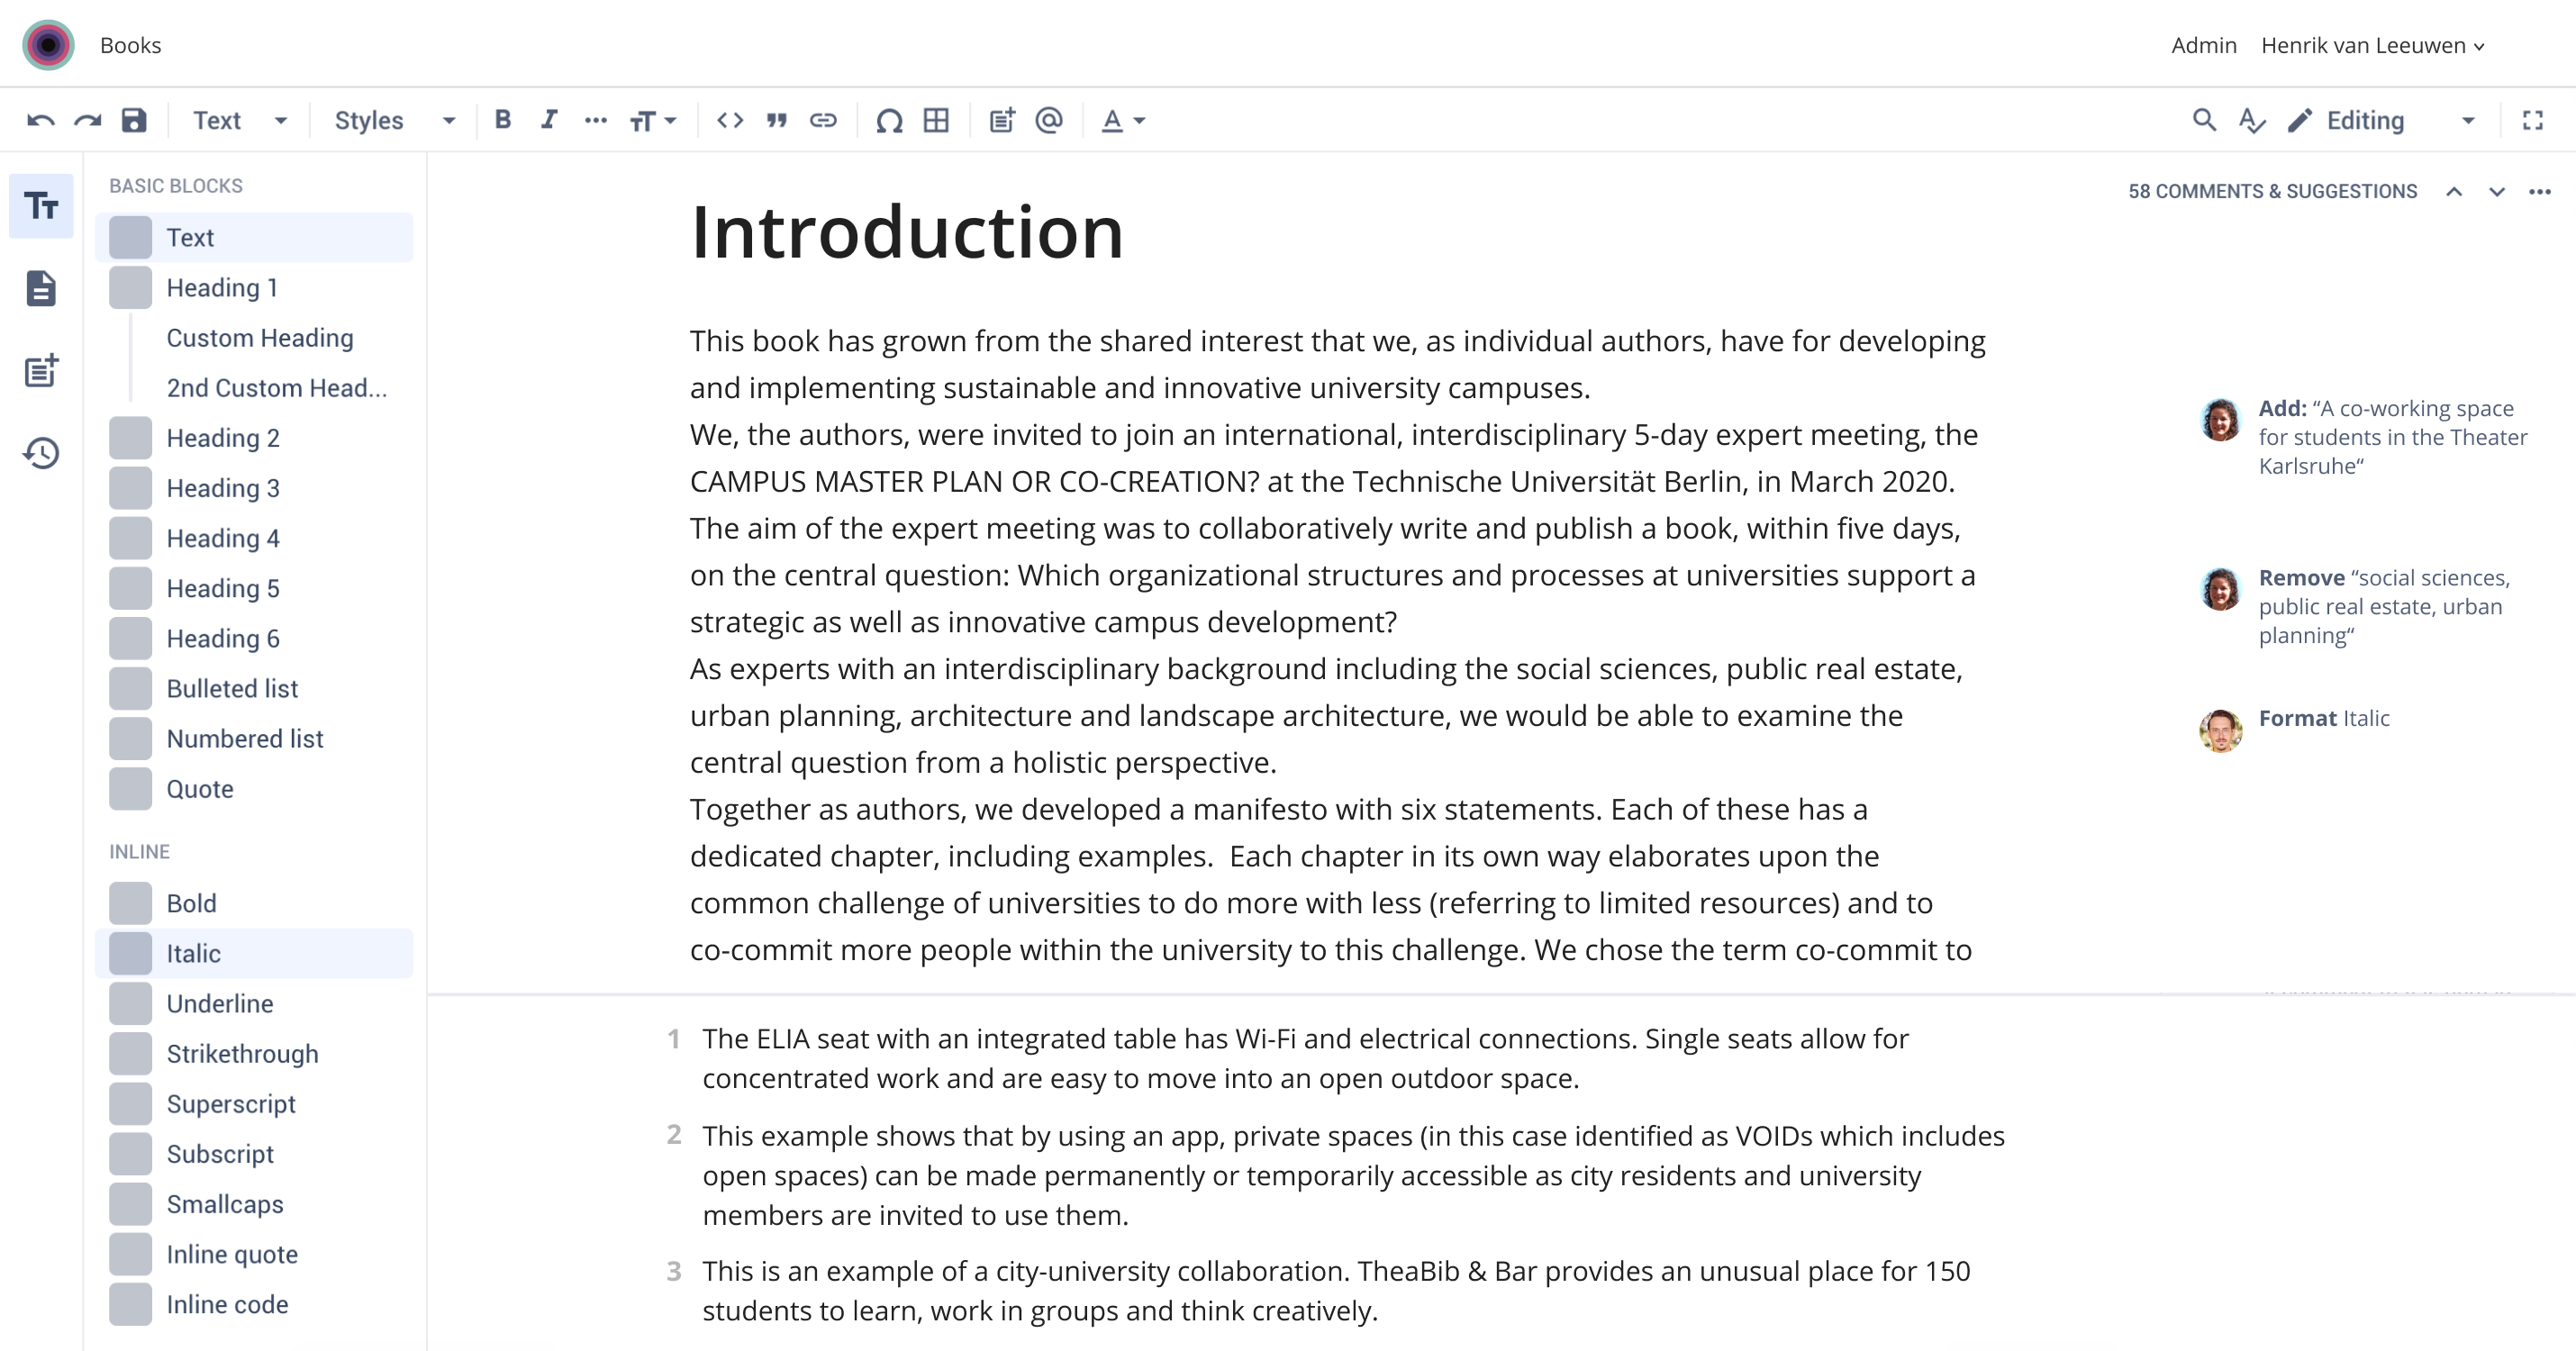
- A preview of the book, shown in the browser (used as )
- A server-side rendering app, that transforms a webpage into a PDF.
When Pagedjs is run on a webpage, it will check the content and its connected CSS styles to define how the layout will be. The main difference with the classic page layout tool is in how the content is paginated, not from the page number they end up on, but from the content itself. Since HTML is a marked up description of the content, we can define how a chapter title will look, on which page it will be (left, right or both), and define the page master used: for example: if you see a chapter title, make it on the right page, change the margins for that page only, add a background color, change the color for the title, etc. Page masters (the CSS styles for each type of page) will be automatically applied to the content (the HTML itself).
What can we do with Paged.js?
Following the existing paths: the existing specs from the W3C
Paged.js follows the specifications from the W3C that describe how the HTML and the CSS needs to be written to do a certain amount of things. While they seems a bit limiting, they actually offer a lot using a simple language easily understandable. All the following is made using only CSS, with the proper HTML markup.
On pages
@page {marks: crop cross; bleed: 3mm}
- First page, right and left pages can have different layout. And you can also set a specific layout to any page selected by its number:
@page: first {…}

@page :right {…},

@page :left {…},

@page:nth(12) {…}
- Support for page-breaks (send to next page, next right page, next left page)
/* send to next page */

.chapter {
break-before: page;
}


/* send to next right */

.part {
break-before: right;
}


/* send to left right */

.left {
break-before: left;
}
- Page created when a page break create an empty page can have a specific layout.
@page :blank {…}
- Page masters can also have their own styles
/*
if you want all your page in your chapter
section to have 30mm of top margin
*/

section.chapter {
/* set the pagemaster for the .chapter element the page master*/
 page: chapterMaster
}

@page chapterMaster {
 /* define the page master lauyout*/
 margin-top: 30mm
}
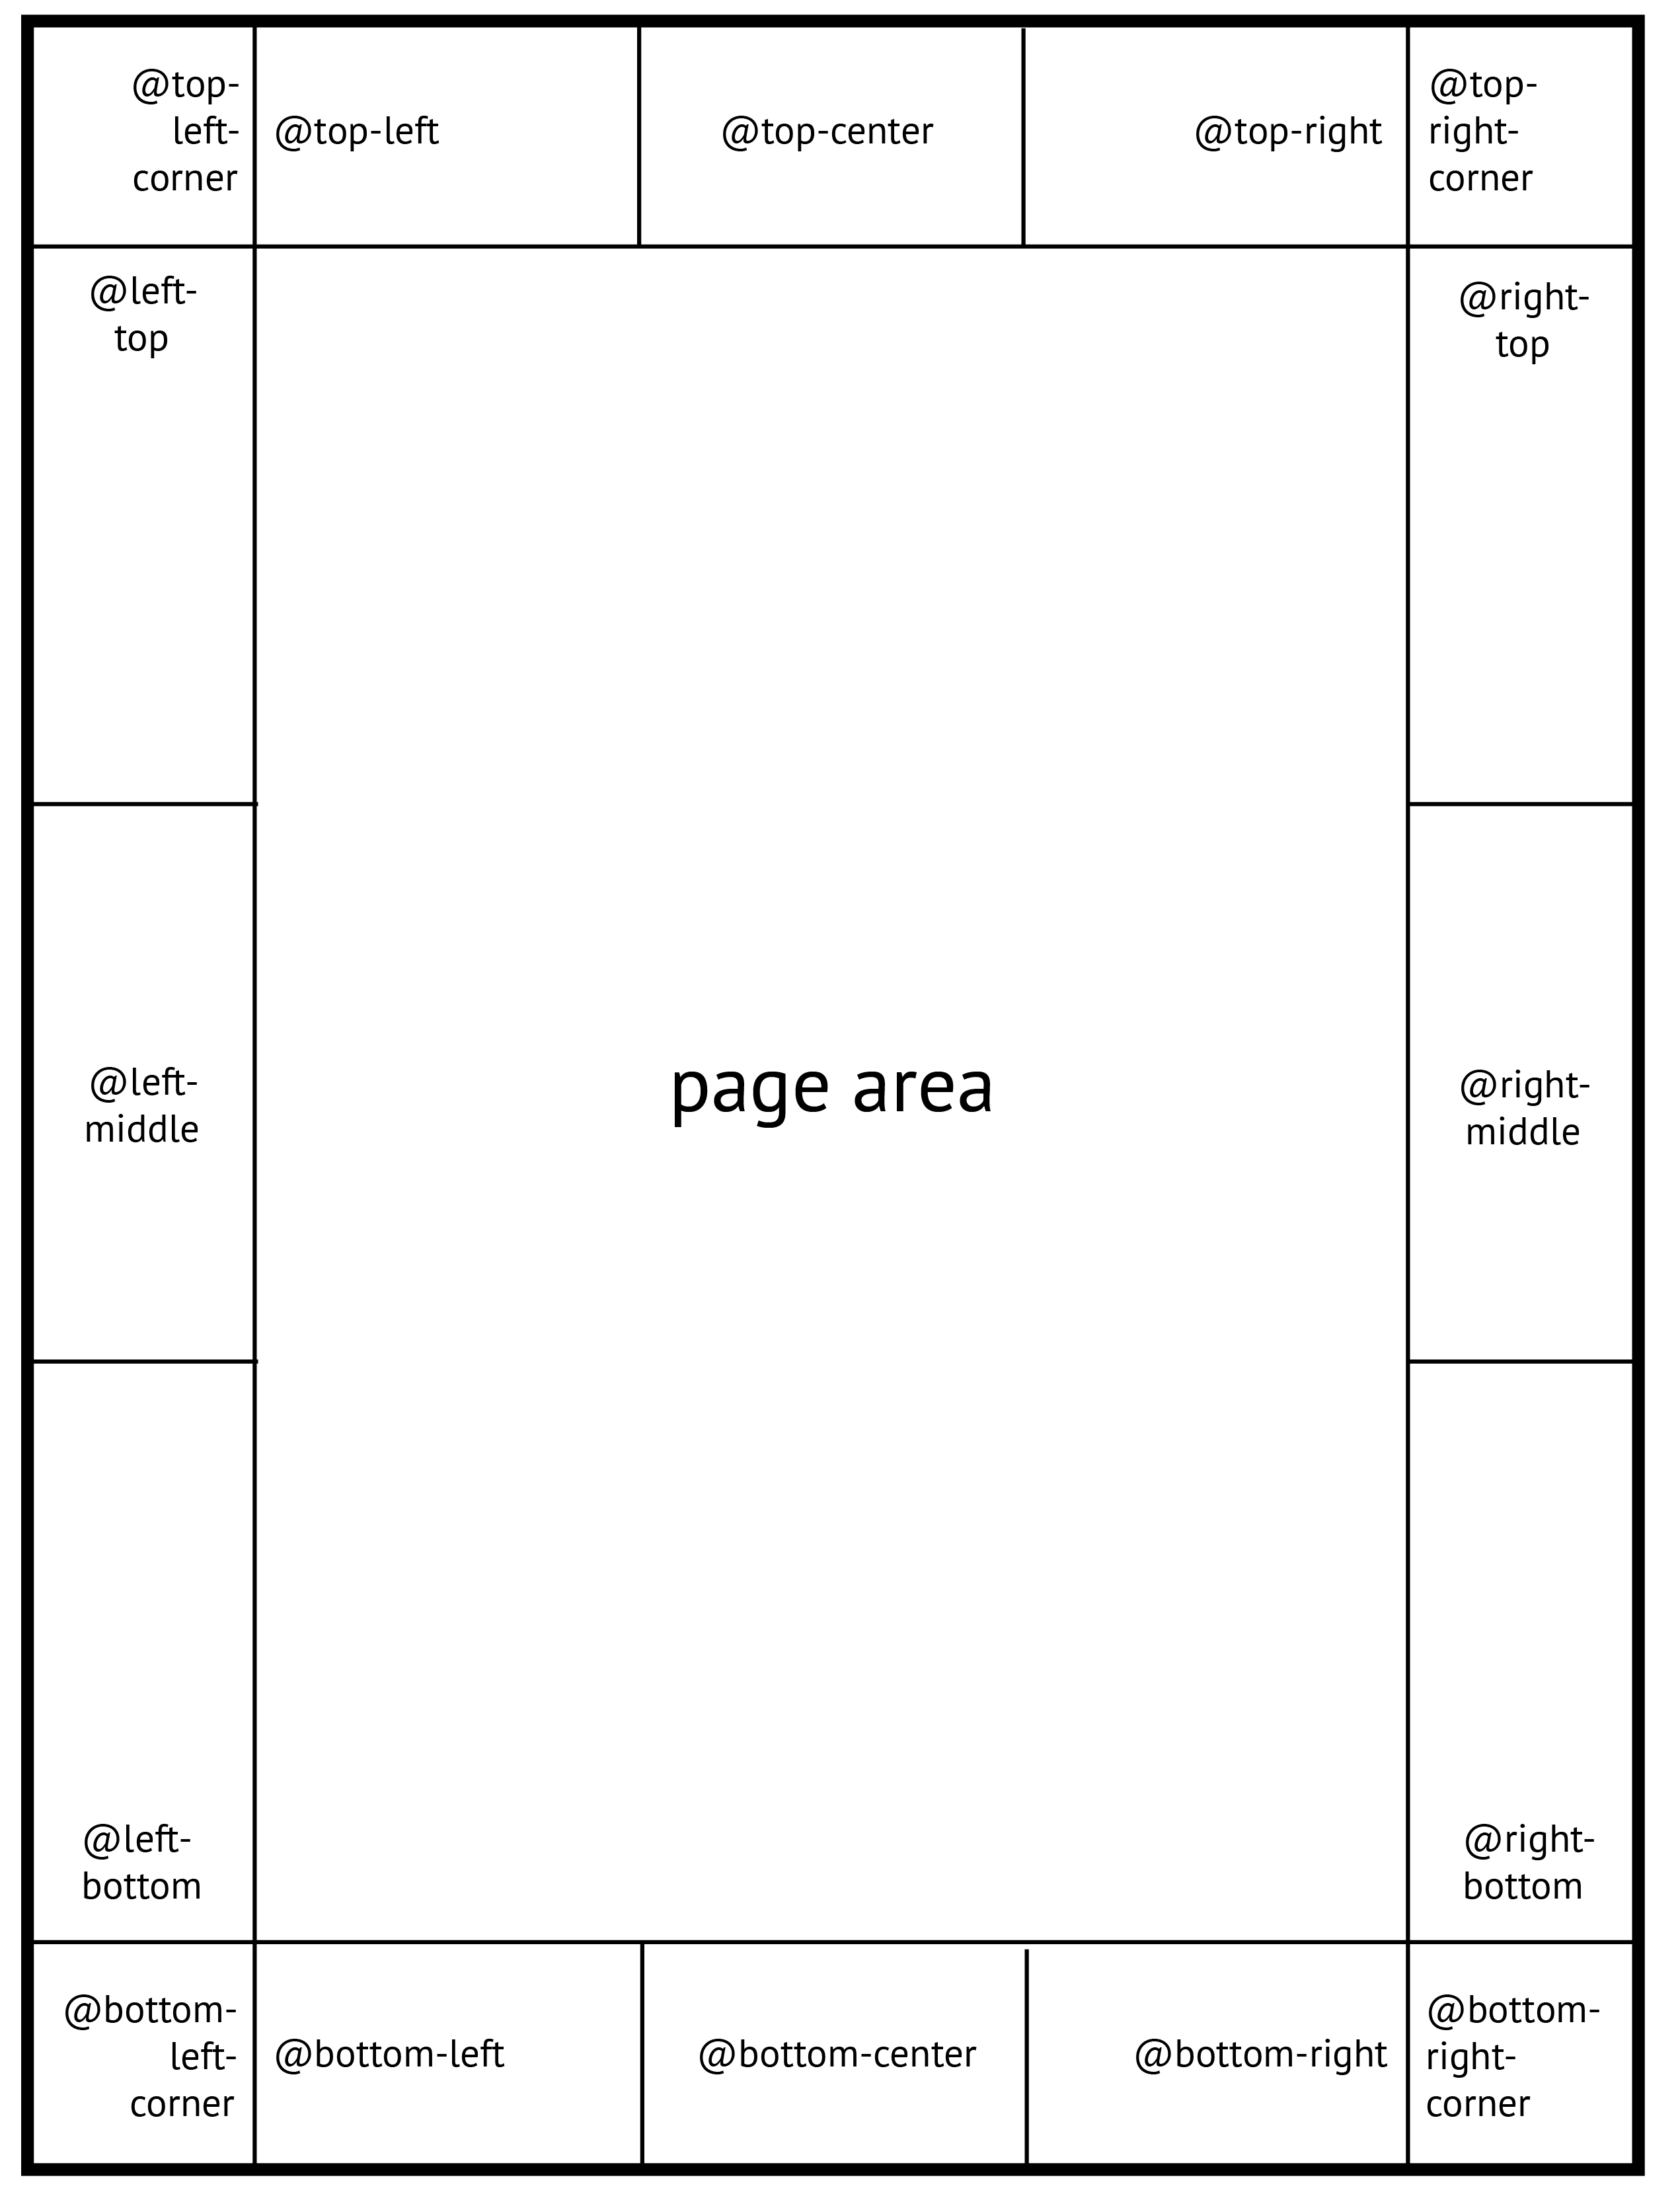
On margins boxes: generated content
- W3C defines page ass a set of areas: the page area that will contains the content and the margin-boxes, allowing the placement of automatic generated content. Generated content is based on the HTML itself and can be used to add counters to titles, running heads, page numbers, cross references, etc. In the case of the margin boxes, we can describe the artifacts used for printed books.

Page numbers
Running heads
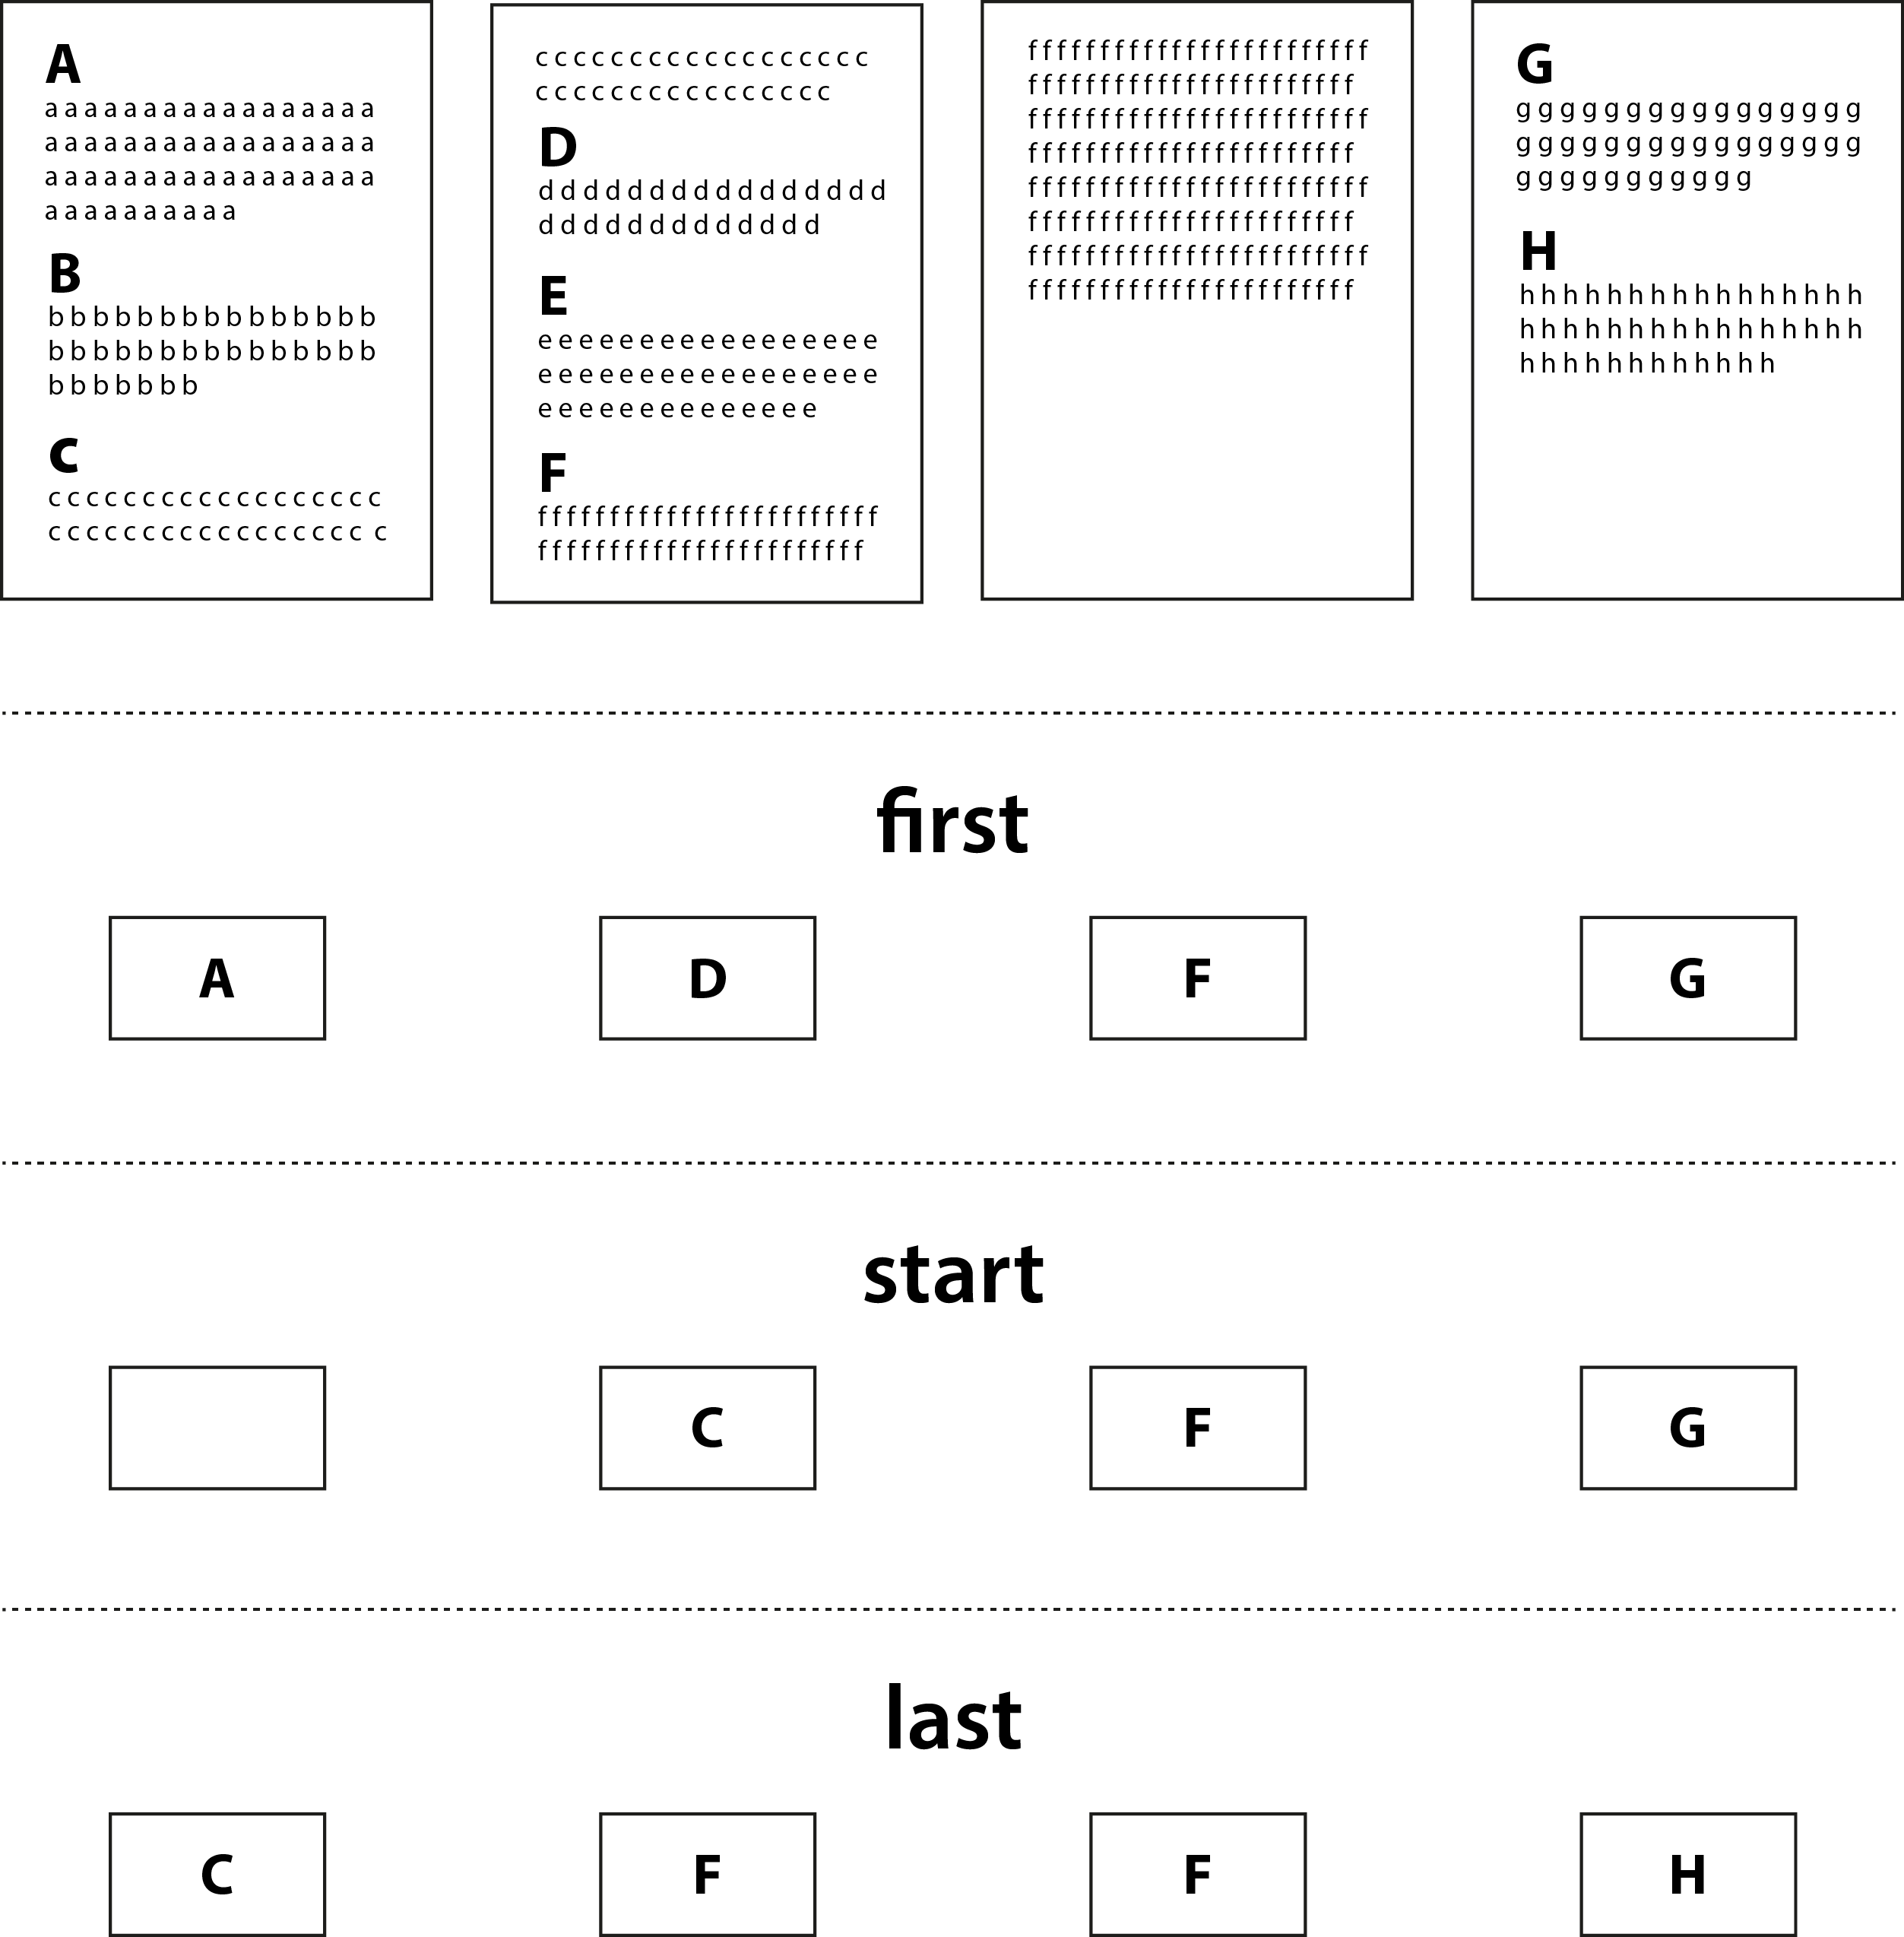
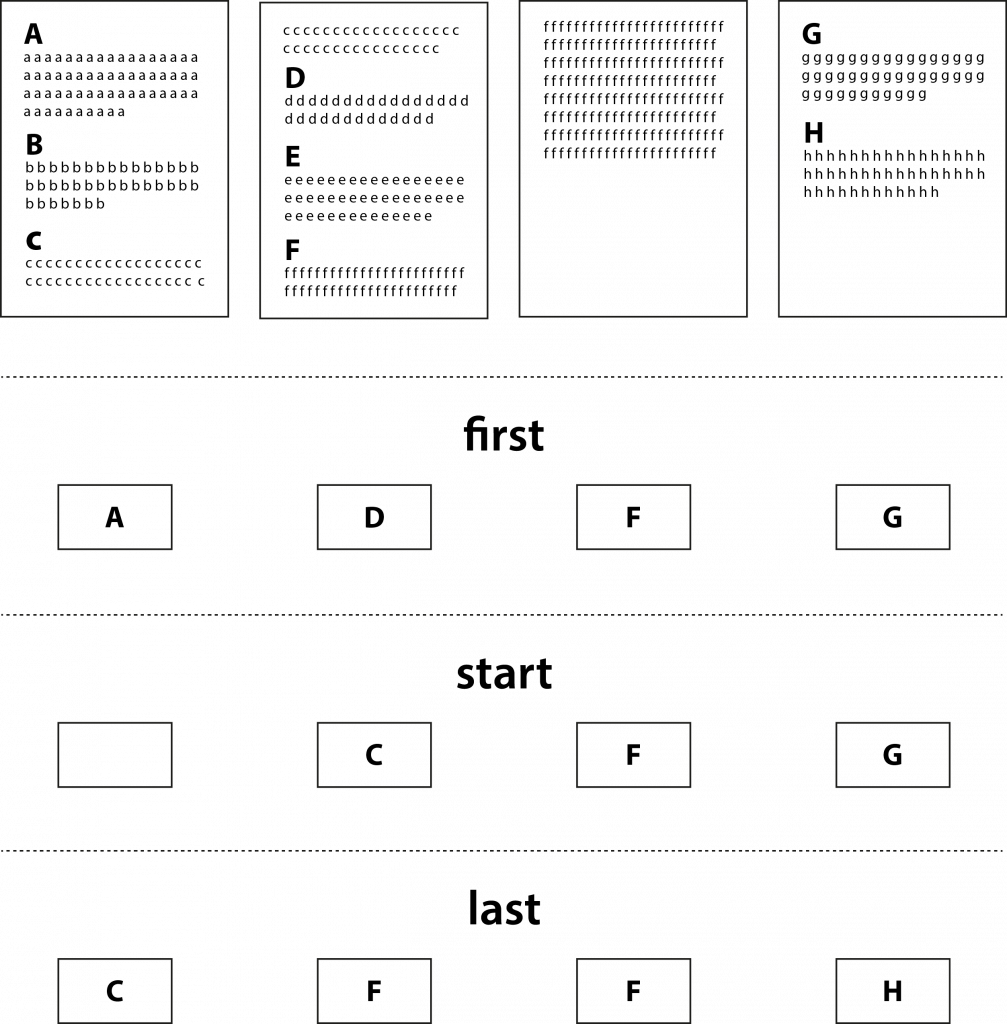
Running heads can be set with two different ways:
- copying the non formatted text of the element (its first letter, or something in the :before or :after element, such as title numbers)
h2 {string-set: titleString string(content(text))}

h2 {string-set: titleString string(content(first-letter))}
h2 {string-set: titleString string(content(before))}
h2 {string-set: titleString string(content(after))}

@page {
  @bottom-left {
    content: string(titleString)
  }
}
If you have multiple elements on the page, you can select which one to use
Index, table of content, cross references: finding the right page
In the print space, a cross reference (“see figure 14 page 12”) is a link placed where the reference will be written down that will target the element referenced. To do so, we use the target-counter CSS property.
/*
After a link, create a pseudo element, and give it the value of the page number the element is on
*/
a.crossReference::after {
  content: target-counter(attr(href url), page) ;
}

/*
You can also mix it with some text:
*/

a.crossReference::after {
  content: "[see figure on page " target-counter(attr(href url), page)"]" ;
}
The exact same solution is used for any reference to an element on another page: table of content, indexes, etc.
Footnotes
Footnotes are coming to Paged.js. Making s. he callout and the footnote stick together on the same page is a pretty complex thing, especially with long footnotes. We’ll write down a complete explaination on how footnote work by the end of january 2021 to celebrate the release.
The specs for the footnotes from the w3c allow styles for the footnote counter and callout styles. It’s a bit basic, but it works fine. The core team of Paged.js also wrote a more complex bit about how notes could be handled in the future in Notes about Notes
/*
the placement of the footnote are defined in the @page
*/
@page {
    @footnote {
        border-top: dashed red 1px;
        margin-top: 12px;
        float: bottom;
        }
}


/*
Each note element (in that case, a span with a class "footnote") is being send to the footnote zone using float
*/
span.footnote {
    float: footnote;
}

/*
the style for the footnote call is added
*/
.footnote::footnote-call {
    color: red;
}


/*
the style for the footnote number is added
*/
.footnote::footnote-marker {
    color: blue;
}
Tables
Table seems easy at first, because they are pretty straightforward: but they can get very tricky when it comes to complex layout: columns spaning, table headers in the middle of the table, repeated table footer, etc.
The W3C doesn’t really explore what you can do with table when it comes to print. The only described feature is the automatic repeat of table header when a table is chunked on multiple pages. We have a great work coming on tables to add more support. For now Paged.js handle simple tables. More complex tables will need custom CSS.
Finding new ways with custom plugins
Paged.js is a modern and modular javascript library. If the first goal is to support the W3C specs, it also helps when creating custom layout or implement specifications not built yet.
In the Pagedjs world, those scripts are called hooks. To be used, they need to be added to the HTML, as script element.
Looking at the Atla’s Pagedjs hooks, we can find some examples of how the hooks can help to automate most of the work:
- Automatically write chapter number in full letters (https://gitlab.pagedmedia.org/pagedjs-templates/atla/blob/master/src/js/atla.js#L260)
- Make printable links (https://gitlab.pagedmedia.org/pagedjs-templates/atla/blob/master/src/js/atla.js#L364).
- Add unbreakable spaces after articles in titles to keep nouns and articles on the same line (https://gitlab.pagedmedia.org/pagedjs-templates/atla/blob/master/src/js/atla.js#L374)
- Using the image ratio we can build an automatic layout for images, by changing its CSS styles depending on the format (portrait, landscape or square) (https://gitlab.pagedmedia.org/pagedjs-templates/atla/blob/master/src/js/atla.js#L513)
There is also the possibility to reuse existing hooks by copying the script element in your project .
- Index will check for specific attribute in the content to create an index for the whole content.
- Table of content will look at the content to create a table of content.
- Mathjax support will provide support for Math using Mathjax